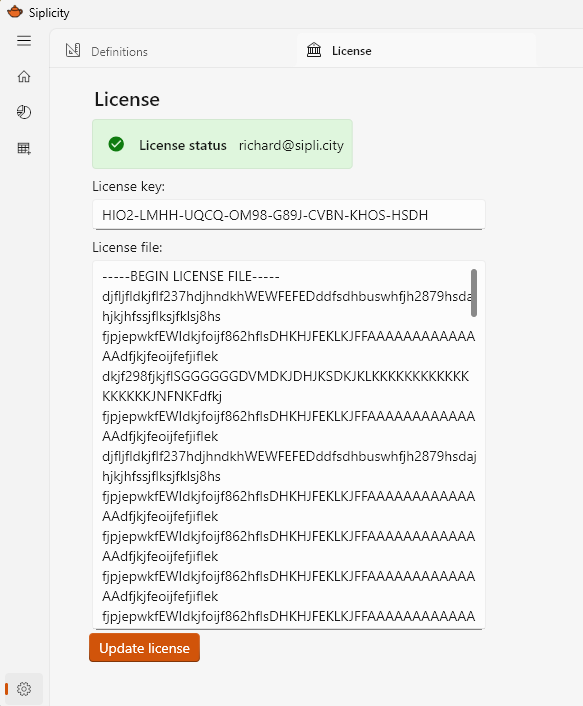
The settings menu is accessed via the “cog” icon at the lower left hand corner of the Siplicity screen.
The settings menu has the following tabs:
- Defintions - for activating and deactivating definitions
- License - for updating your license key.
Activating definitions
Siplicity supports end user customisation via TOML definitions files for custom vocabularies, table layouts, and outputs.
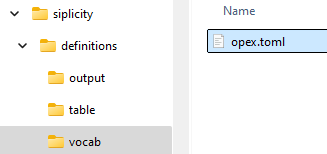
Definitions folder
The definitions files sit within folders within a “definitions” folder of your “siplicity” home directory.
Home directory
On a Windows install, you can find the “siplicity” home directory within the hidden “AppData” directory, e.g.:
c:\Users\richardlehane\AppData\Local\siplicity
Definitions menu
You can control the visibility of custom definitions via the “Definitions” tab of the settings menu.
Toggling definitions in this menu causes them to be activated or de-activated. E.g. if you activate a vocabulary, it will be added the schema for your Siplicity session.
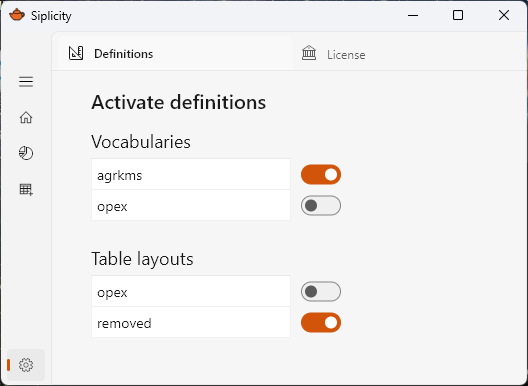
Changes made in this menu are persisted between Siplicity sessions.
License keys
After purchasing Siplicity, you will receive an email with a license key and license file.
You can enter this license information in the settings menu to unlock the full functionality of the application, including the ability to perform commits.
Enter the license key information in the “License key” field. Copy and paste the text of the “license.lic” file (e.g. using Notepad.exe) into the “License file” field. Make sure to include the full text of that file.
Once this has been done, click “Update license”. Your “License status” should change to green when successful.